Initial Setup of New OLT - Vsol Single PON
Note
To have a clearer understanding of how the OLT connection is structured when performing the configuration, you can refer to the following diagram on how to make the physical connection.

Steps to Configure a New OLT
Access Data
Password: Xpon@Olt9417#
1 We must verify that we have internet access.
2 We must have our Vlan, Administration LAN, and Customer Segment LAN added. For more information, you can read the manual Configuration in MikroTik RouterBoard for OLT Vsol Single PON.

3 We must test the connection with the OLT using the default assigned IP.

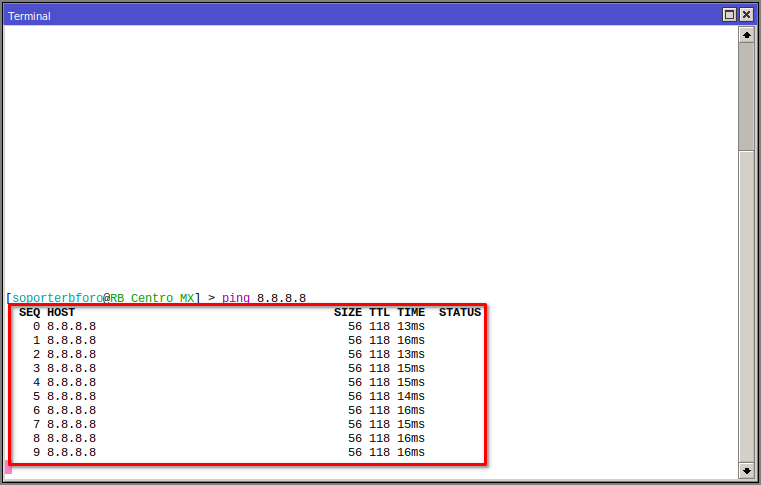
4 Connect our computer to the router's network and ping from our terminal.

5 Enter the OLT IP in a browser.

6 Configure the new OLT IP.
New IP


We must log in again with the new IP.

7 Create a user in the OLT, which will be used to connect with AdminOLT.

8 Enable the Telnet service.

Next Step
April 12, 2024, 3:32 p.m. - Visitas: 17550